

Mastering the art of decoy carving
Welcome to Griffin Duck Decoy's, where we delve into the heart of decoy carving. Discover the diverse styles, tools, and materials that bring these beautiful birds to life. Whether you're a seasoned artisan or just starting, this page is for everyone who shares a passion for this timeless craft.
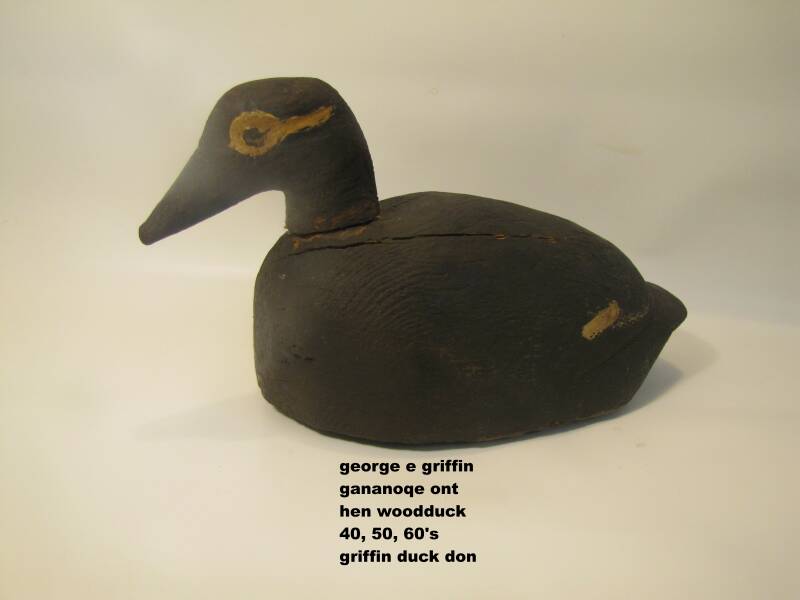
In the 60s, my dad, George E. Griffin, made duck decoys by chopping and sawing out telephone poles. Really rough-looking duck decoys. Ugly, but they worked. Hunting on the Gananoque River with these wood duck decoys as a young lad brings back great memories when you did not have a care in the world. No matter what, carve on.
The diverse world of carving styles
Every carver, every region, and even every state boasts a unique style of duck decoy carving. From the utilitarian working decoy to the intricately detailed decorative piece, the purpose often dictates the technique. Explore how these diverse approaches shape the final product, each telling its own story through wood and paint.

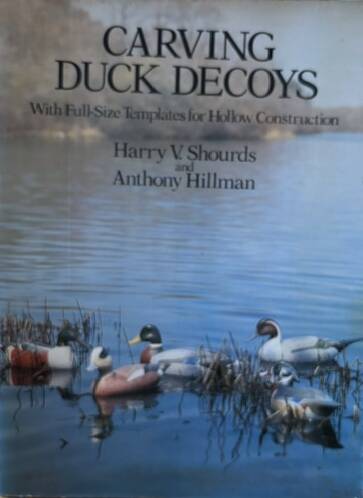
New to carving, find a mentor or a style of duck decoy you admire, then go from there. No, I did not pick my father, but he did influence me to carve duck decoys. Pattern books are a good way to go. Books like the ones I first used, Carving Duck Decoys by Harry V. Shourds and Anthony Hillman. Keep on Carving.
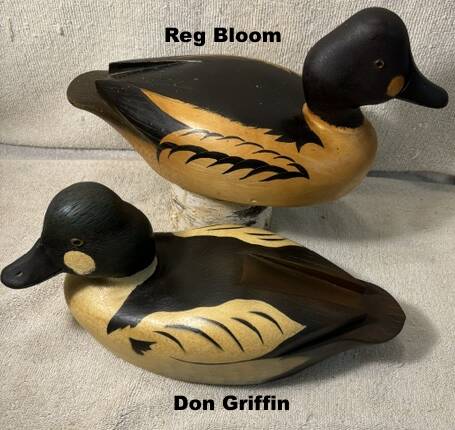
Reg Boom was a big influence on me after I bought 2 drake goldeneye decoys of Blooms for 7.$ a piece. Ray Rombough got them for me; he had his connections. Over the years, my decoy style was Reg Bloom cut-out back and wings. Making your own style comes with time, carving, making new patterns and experimenting. I have hundreds of retired patterns.
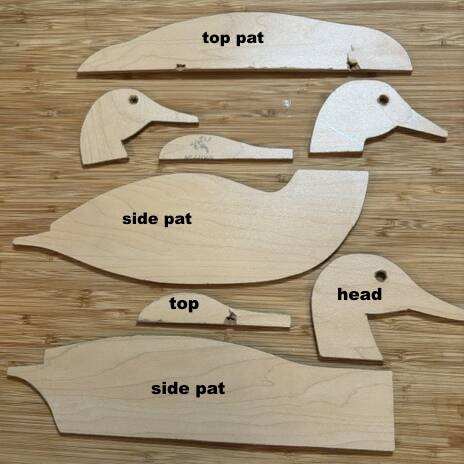
Making patterns is not that hard; tracing a plastic or wooden decoy is one way to go. Most duck decoys are only 12 to 13 in. long and in width 5 to 6in with mallards much bigger. Heads are usually 3 x 3 x 2 in. This will give you a rough start; trace on cardboard or thin plywood- anything will work for this part of the project. Now that patterns are made, get a block of wood; I prefer basswood in our area to many others, to name. Trace the pattern on the body, cut the side profile first, then the top on the body. Head: you cut the top and then the side. Make sure to mark the center line on blocks of wood, so you get equal sides.
Don't forget to drill holes for eyes and head mount.
Tools, wood, and paint: The carver's essentials
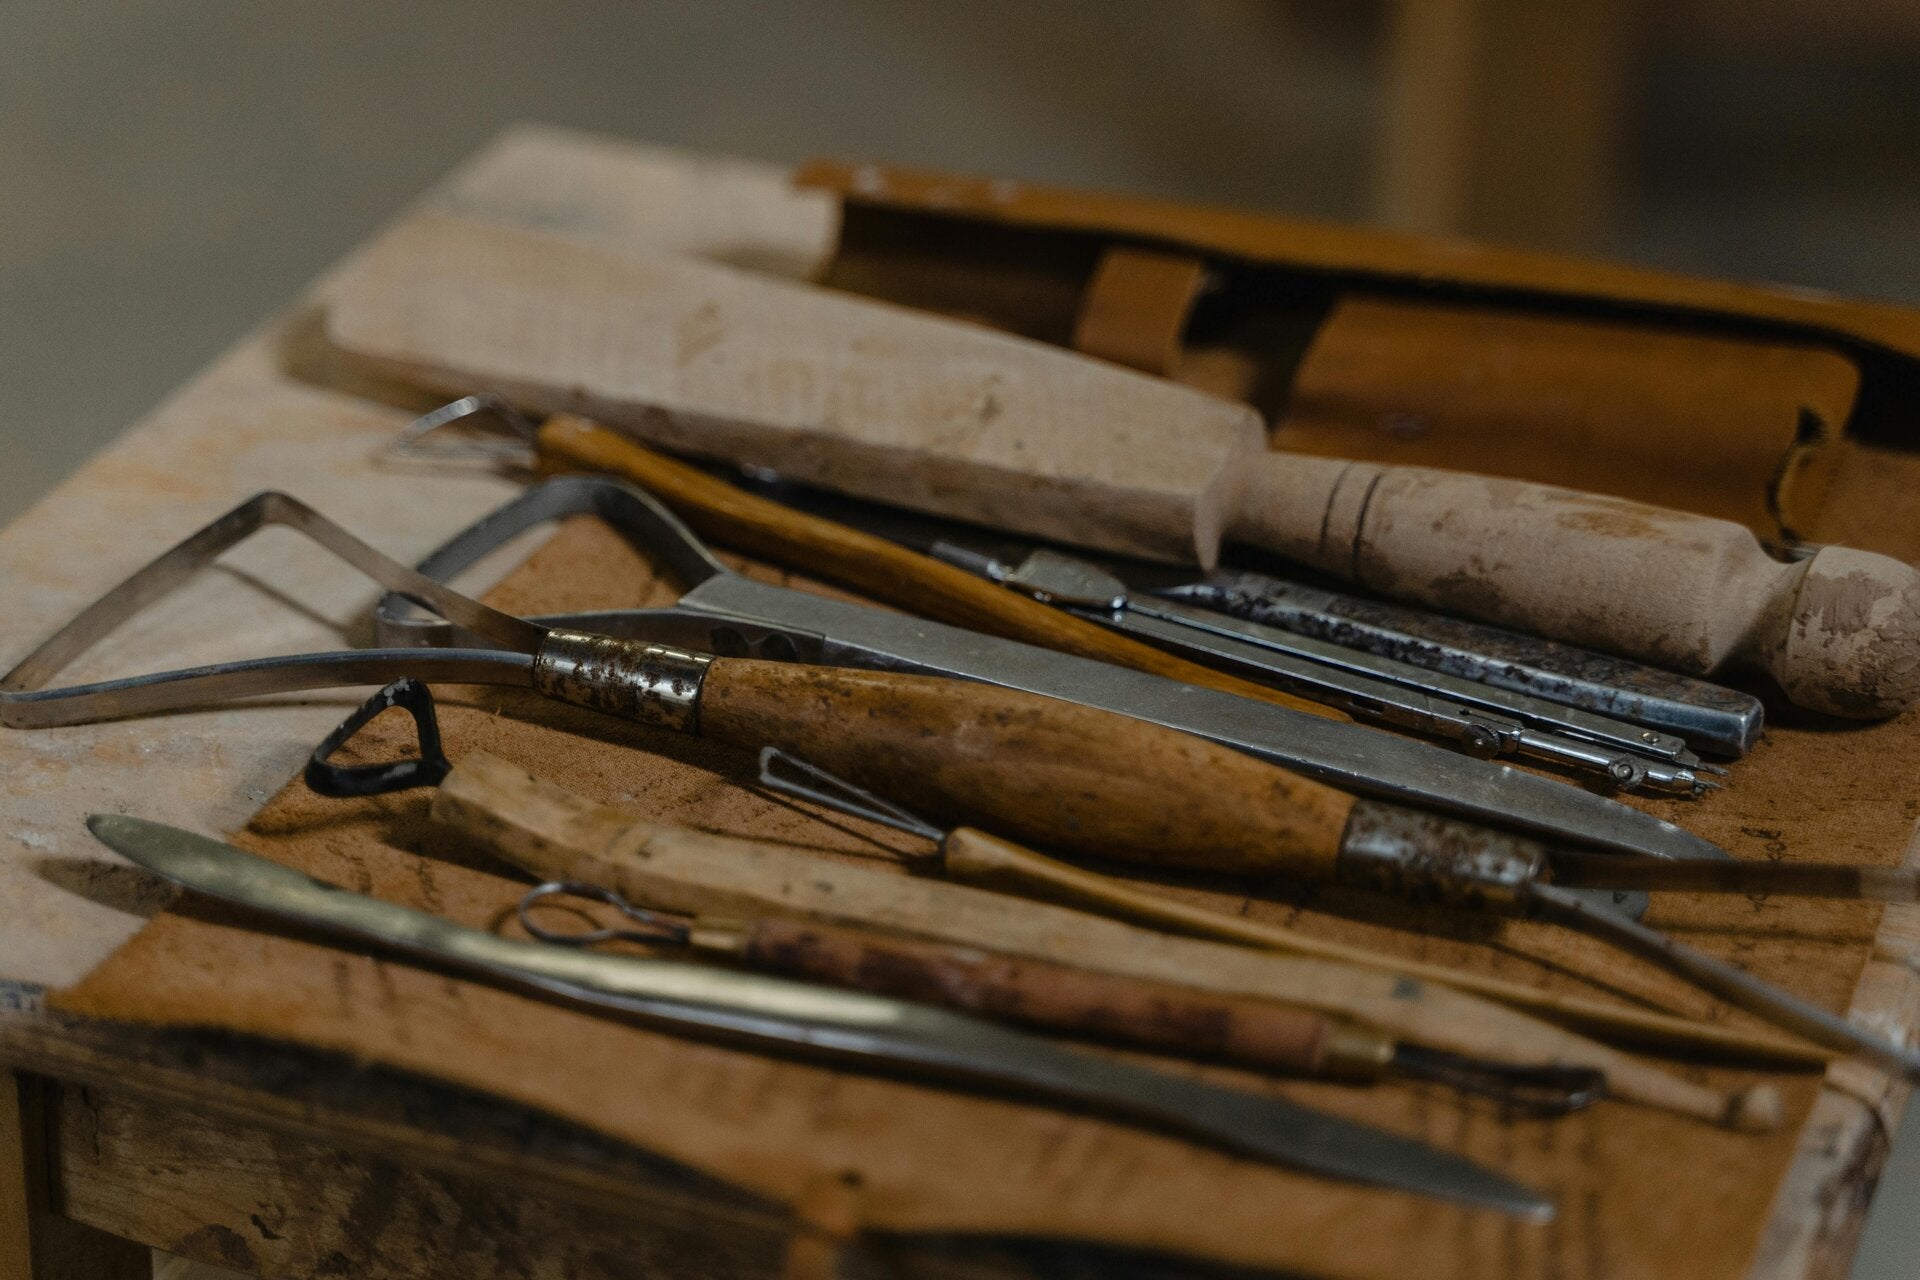
The choice of tools, wood, and paints is as varied as the carvers themselves. Some prefer traditional hand tools, while others embrace modern machinery. Different woods offer unique carving characteristics, and paint techniques can transform a plain block into a vibrant replica. Understanding these elements is crucial for bringing your duck decoys to life.
Bandsawing Your Decoy
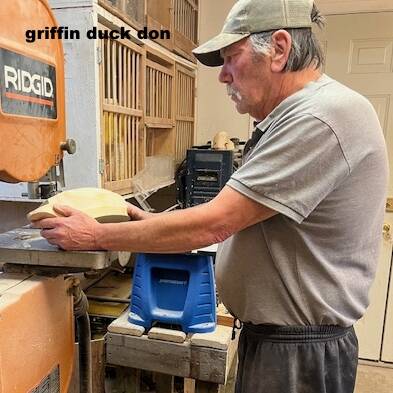
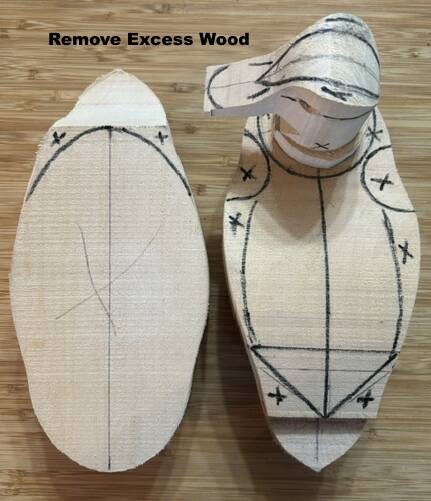
Cut out the block of wood with your pattern on it. Check: Did you drill the eyes and body-mount holes? I forgot, and it's harder later. Size of holes, 5.16th bit on most everthing, its your choice. Bodies and heads are cut out; bevel the body bottoms on a router table.
Removing Wood
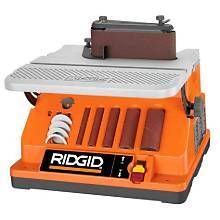
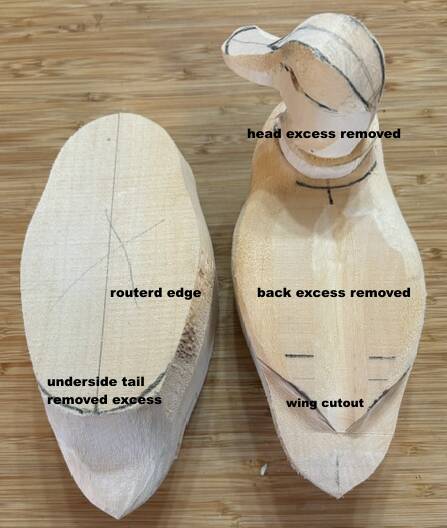
Next, mark the body and head layout; wood needed to remove. Cut out wings with a coping saw or a Dremel with a small saw blade. To remove excess wood, I use a Ridgid belt sander to remove all excess materials. Now that the extra wood has been removed, I even it out with my Dremel with a 1- 2 in sanding drum. Grind out the centre line from the back to the tail; this will profile your wing layout using the Dremel
Take a Rest.
. Next, sand with a hand sander to round uneven sides, back and front. Hand-sand the decoy to your desired look: plastic wood, holes and imperfections, sand some more. Head. Repeat: get rid of excess wood now using the belt sander. Set the table at 15 degrees for more ease and room to maneuver.
Head and Eyes
Body's done; burnt tail feathers, wing and side, now onto carving the head. We drilled the holes for the eyes with 5-16th in drill bit. Drilling the hole straight through the block makes the eyes even on both sides. The head has had the excess taken off; now it's time for the Dremel.
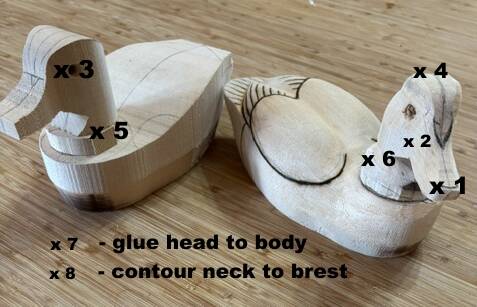
Eight Steps to Carve a Head
X1 - Start the bill first, round the end of the bill. X2 - Narrow in from the V to the front of the beak. X3 - Cut a slot or groove for eyes going towards the back of the head. X4 - Round the top of the head to the middle line. X5 - Round the neck. X6 - Contour the neck to the cheek. X7 - Sand out imperfections to desired shape. X8 - Contour neck to breast.
griffin duck
Patterns, patience, and realistic paint
The secret to a lifelike decoy lies in mastering patterns and paint techniques, combined with a good dose of patience. Getting the patterns just right is fundamental to capturing the bird's form and proportions. Furthermore, the application of paint can transform a carved block of wood into a realistic, feathered creature. This attention to detail and unwavering dedication truly makes the bird.
Duck Eyes Next
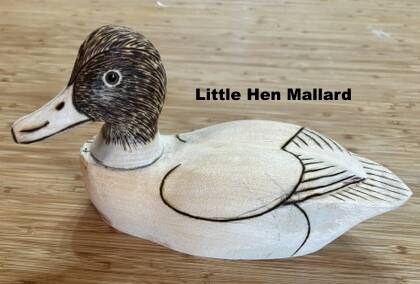
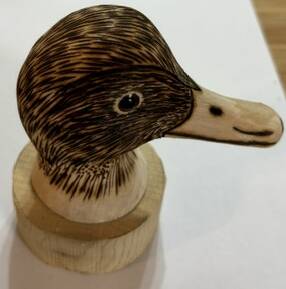
Each duck decoy has its own colour of eye and different sizes. The one we are working on is a miniature, so they have smaller eye. The small decoys like these use 7s and 8s. This particular one is a No. 8 painted brown. A 7.16th hole was drilled; check the eye to see if it fits; if not, use a smaller sanding drum to make it fit. Fill the eye holes with plastic wood and push it in. Smooth out excess with your finger, and when it dries, use your thumbnail to scrape it clean. Burning head and body optional. Next, go to Decoy Painting Tips to paint your decoy. Hope this was helpful.
griffin duck don ....A picture will show the placement of the eye.

Preserving a cherished tradition
At Griffin Duck Decoys, we believe in the importance of preserving the traditional ways and carrying on the art of carving. In an age where many traditional crafts are fading, we strive to keep this beautiful art form alive. Join us in celebrating and learning the intricate techniques that define true duck decoy craftsmanship. For more tips or to share your own experiences, contact us at [[bemail]] or [[phonenumb.
Create Your Own Website With Webador